


How to Adjust a Microwave Sensor: A Comprehensive Guide
Microwave sensors are popular for their accuracy and reliability in detecting movement, often found in applications such as security systems, automatic lighting, and industrial automation. Unlike traditional infrared sensors, which rely on detecting heat, microwave sensors send out high-frequency radio waves that bounce back when they encounter an object in motion, making them sensitive and effective in various environments. However, proper adjustment of these sensors is crucial for optimal performance. This article provides a step-by-step guide on how to adjust a microwave sensor.
1. Understanding Microwave Sensor Components and Functions
Before adjusting a microwave sensor, it's essential to understand its key components and how it functions. A typical microwave sensor has the following parts:
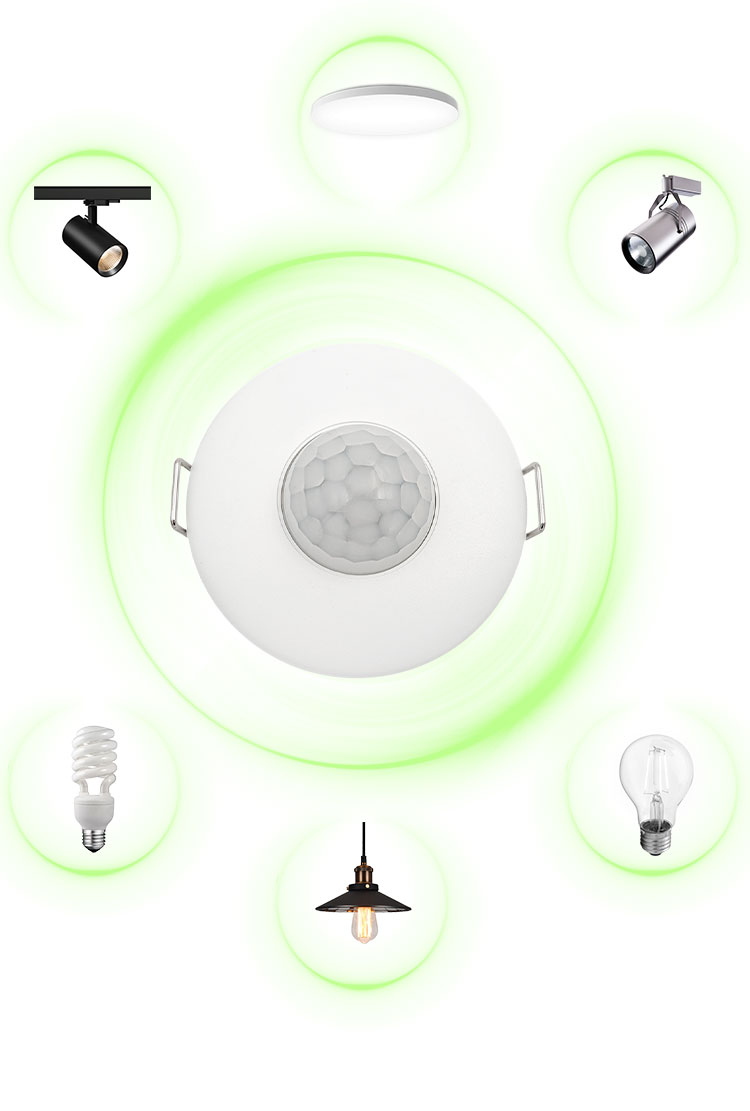
- Transmitter and Receiver: The transmitter emits microwave signals, and the receiver detects these signals as they bounce back from objects.
- Sensitivity Control: This setting allows users to adjust the detection range, helping to control how far away the sensor detects motion.
- Time Delay Control: This feature lets users set how long the sensor stays active after detecting motion, ensuring that devices, such as lights, do not turn off immediately after movement stops.
- Lux (Light Sensitivity) Control: In devices that integrate a light sensor, this feature controls whether the sensor activates based on ambient light levels, helping conserve energy by limiting operation during daylight.
2. Step-by-Step Guide to Adjusting a Microwave Sensor
Step 1: Mounting the Sensor Correctly
Proper installation and positioning of the sensor are essential before adjusting the settings. Install the sensor at an optimal height and angle based on its intended use. For example, if it’s for security lighting, place it at a height that covers the desired area without interference. Avoid mounting it close to large metal objects or electrical devices, as these can disrupt the microwave signals and cause false triggers.
Step 2: Adjusting Sensitivity
Sensitivity controls the detection range, which determines how far away the sensor can detect movement. Here's how to adjust it effectively:
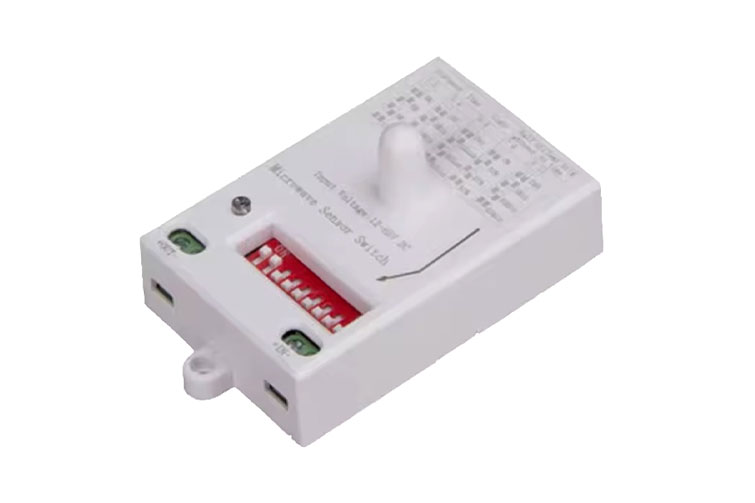
- Locate the Sensitivity Knob: Most sensors have a labeled knob or switch for sensitivity. The scale can range from low to high or may be marked in meters or feet.
- Start with Low Sensitivity: Begin by setting the sensitivity to a low level to understand the minimum range. Test the sensor by moving in and out of its field to observe the response.
- Increase as Needed: Gradually increase the sensitivity until the sensor detects motion at the desired distance. Avoid setting it too high, as this may cause the sensor to pick up movement from unwanted areas, like nearby streets or other rooms.
- Fine-Tuning for Environment: For outdoor or large spaces, higher sensitivity may be ideal, while indoor or restricted areas benefit from lower sensitivity to minimize false activations.
![]()
Step 3: Adjusting Time Delay
The time delay feature ensures that the sensor remains active for a certain period after detecting motion. To adjust this setting:
- Identify the Time Delay Control: Locate the knob or switch labeled with time values, usually ranging from a few seconds to several minutes.
- Set to Minimal Delay Initially: Start with a short time delay, such as 5–10 seconds, to observe how quickly the sensor resets after movement ceases.
- Adjust According to Application Needs: If the sensor is controlling lighting, you may want a longer delay (e.g., 1–3 minutes) to ensure the lights stay on during continued activity. For security applications, a shorter delay is often sufficient.
- Testing: After setting the delay, move within the sensor range, stop, and note how long it remains active. Fine-tune as needed based on practical use.
Step 4: Adjusting Lux (Light Sensitivity) Control
For sensors that include light sensitivity settings, this feature helps conserve energy by ensuring the sensor only operates under specific lighting conditions. Here’s how to adjust it:
- Locate the Lux Control Setting: The lux control is often marked with sun and moon icons or a range of lux levels (e.g., 5 to 2000 lux).
- Set to the Lowest Lux Level for Dark Environments: If the sensor should only activate in low-light conditions (e.g., at night), set it to a low lux value or the “moon” symbol.
- Increase for Daytime Operation: For applications that require the sensor to work during the day (such as certain security scenarios), increase the lux level to the desired threshold.
- Observe and Adjust: Test by covering and uncovering the sensor or changing ambient light levels, and observe the sensor’s response. Adjust until it triggers reliably in the intended lighting conditions.
3. Tips for Optimizing Microwave Sensor Performance
To ensure your microwave sensor functions optimally, consider these additional tips:
- Reduce Interference: Avoid installing the sensor near other electronic devices or thick walls, as these can block microwave signals and impact performance.
- Regular Testing: Conduct regular tests of your sensor’s performance. Over time, you may need to readjust sensitivity, time delay, or lux settings as the environment changes.
- Consider Environmental Factors: Factors like temperature, humidity, and structural changes in a space can impact the sensor’s effectiveness. For example, excessive heat can sometimes interfere with signal reception.
- Maintenance: Clean the sensor periodically, as dust and debris may interfere with its ability to detect movement.
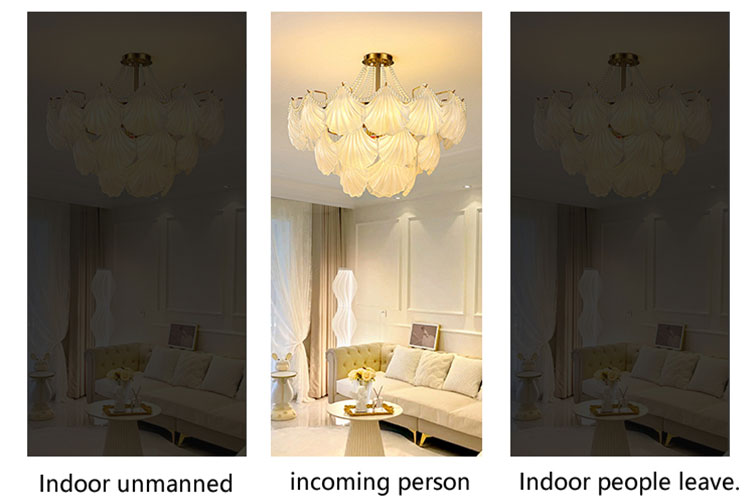
4. Applications and Benefits of Properly Adjusted Microwave Sensors
Microwave sensors are highly effective in various applications when adjusted correctly. In security systems, they offer a reliable means of detecting intruders, while in lighting automation, they enhance energy efficiency by reducing unnecessary power usage. Industries also benefit from these sensors in automation, where they enable precise detection in machinery and production lines.
In summary, properly adjusting a microwave sensor involves understanding the role of each control setting, testing in the target environment, and fine-tuning based on specific needs. With the right adjustments, microwave sensors can significantly improve convenience, security, and energy savings across a range of applications.
Related Posts